It is a common ask to show product image details on sales invoice or delivery note documents. In this post I will walk you through the steps to achieve that.
There is a great tutorial on how you can embed image to the ER documents here that I have used as a base to create this post.
As usually, we have to make changes to the standard model, model mapping and format supplied by Microsoft.
Before we start, make sure that you have “Enable usage of EPPlus library in Electronic reporting framework” feature disabled, because it has a bug that does not repeat the image in the report for each line.
I have based my example on sales packing slip, but you should be able to repeat same exercise with any other report.
Import report format, model and model mapping from LCS
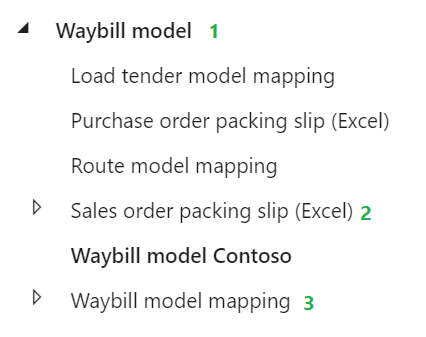
I have loaded standard report format from LCS for the sales packing slip (Sales order packing slip (Excel)). Together with the format, Waybill model and Waybill model mapping were loaded:
Create derived configuration for Waybill model
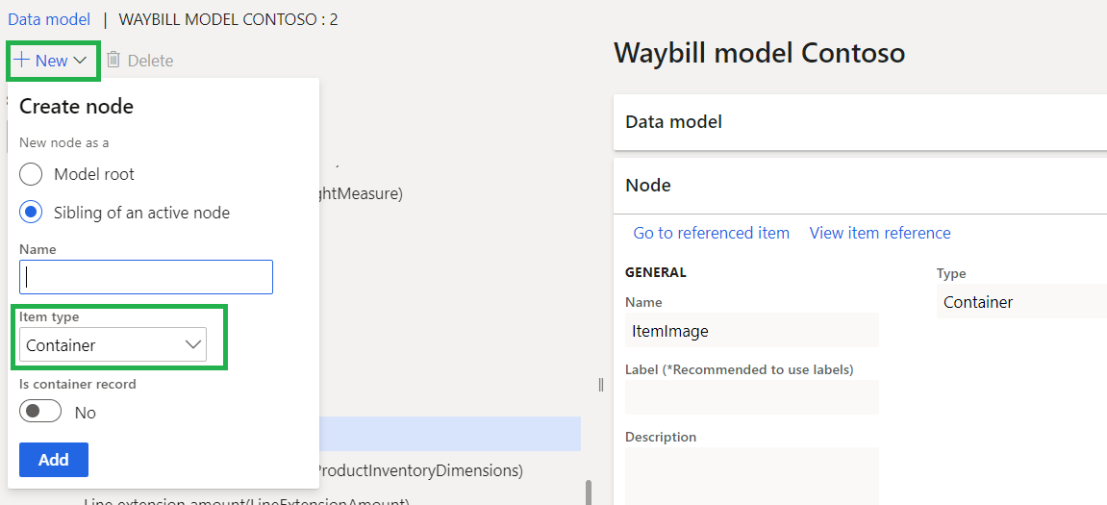
The article I pointed out in the beginning of the blog says that we have to add a field with Container type that will be used to display an image. Therefore, we have to modify Waybill model to include it.
To do this, I have created derived model “Waybill model Contoso”:


Then, I have added ItemImage field under: SalesPackingSlip /Shipment/GoodsItems/Item
We have finished with the changes of the model and can mark it as Complete.
Create derived configuration for Waybill model mapping
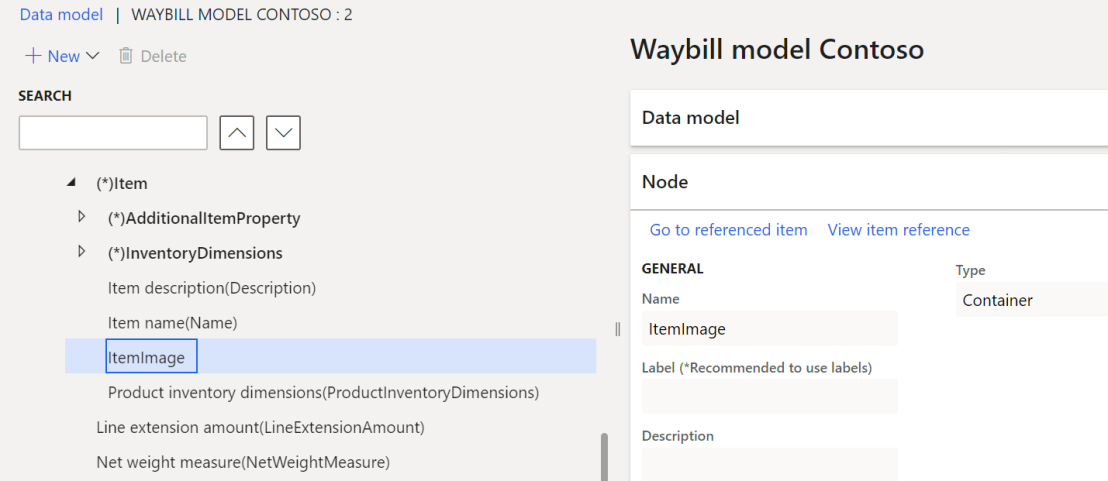
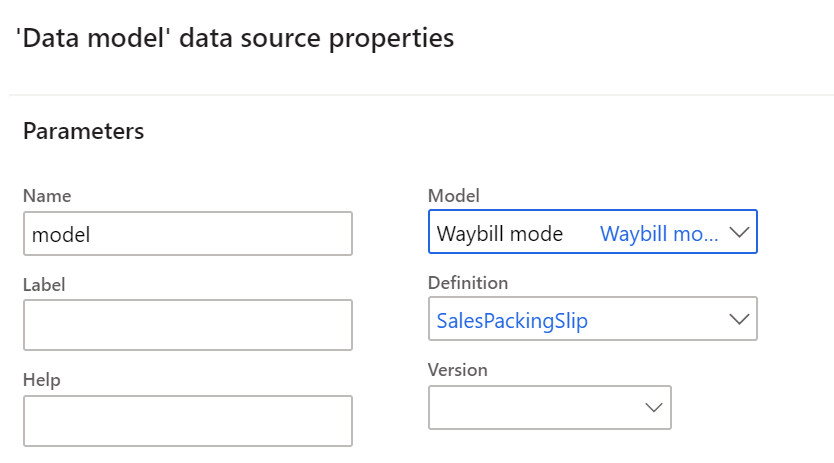
On this step we have to map “ItemImage” field added above with the data model. I have created derived configuration and named it “Waybill model mapping Contoso”. When you do this, make sure that you select newly created model!


Click the Designer button and open designer for the SalesPackingSlip:
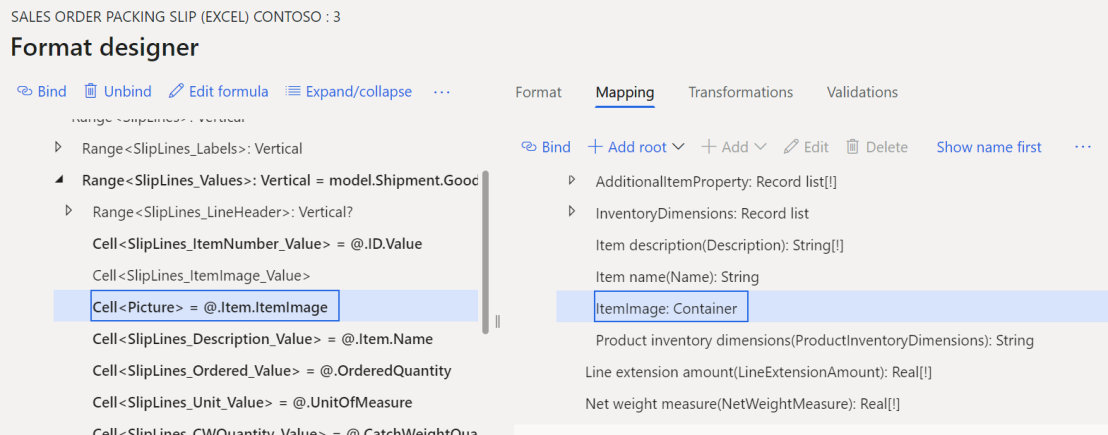
You should see there, in the data model area, field ItemImage added previously:
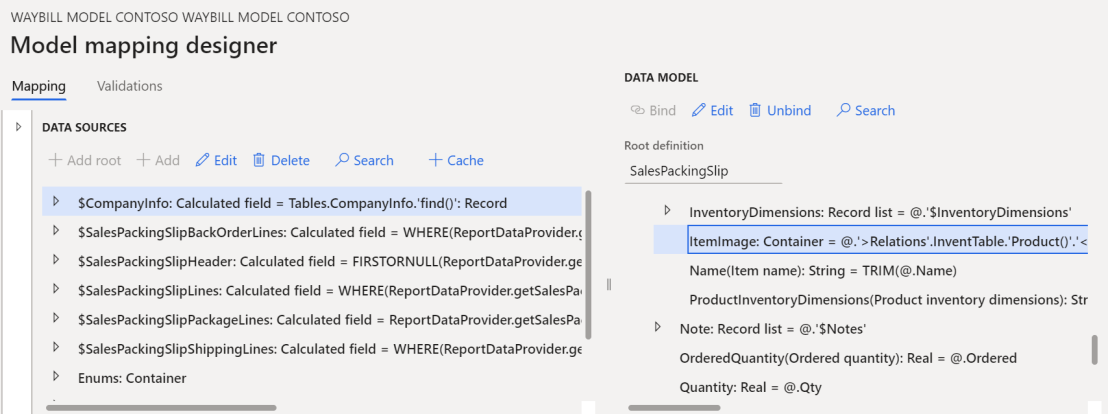
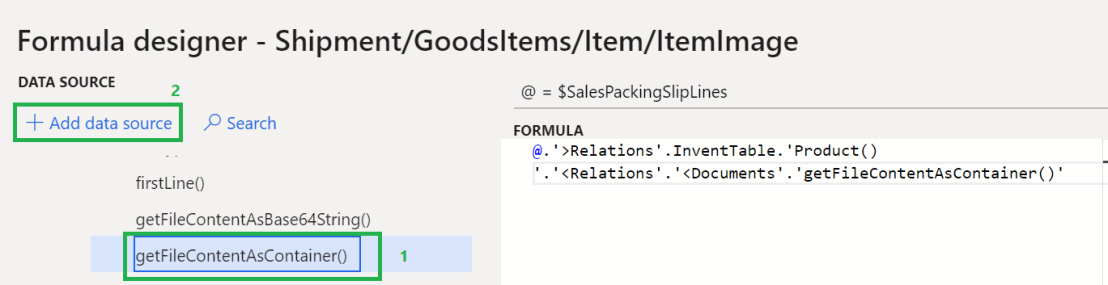
To map it with the image you should use the following formula:
To display image from Product:
@.'>Relations'.InventTable.'Product()'.'<Relations'.'<Documents'.'getFileContentAsContainer()'
To display image from Released product:
@.'>Relations'.InventTable.'<Relations'.'<Documents'.'getFileContentAsContainer()'
The example in this post is based on the Product image.
We have done all the changes here and ready to mark the model mapping as Complete.
Create derived configuration for report format
I have created derived format “Sales order packing slip (Excel) Contoso” that is based on “Waybill model Contoso” we created before.
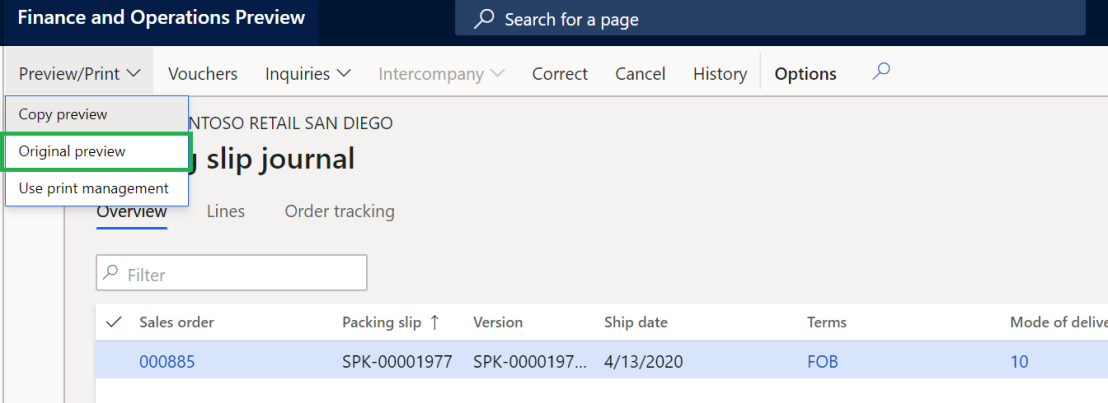
I have made these changes through Business documents workspace (Organization administration > Workspaces > Business document management, Click New document).
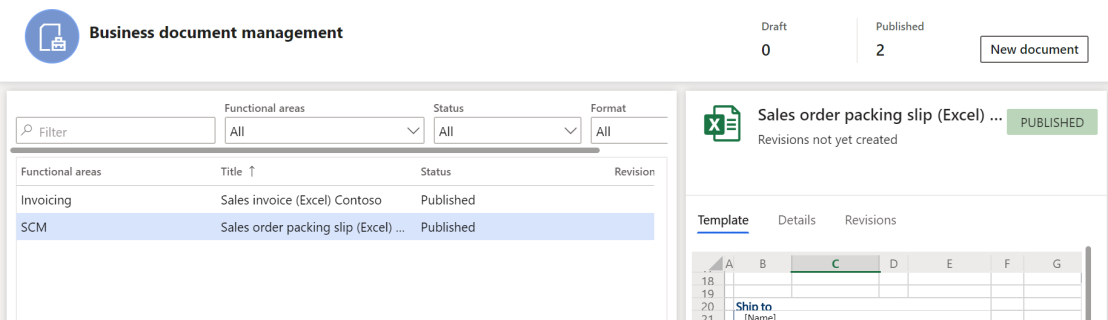
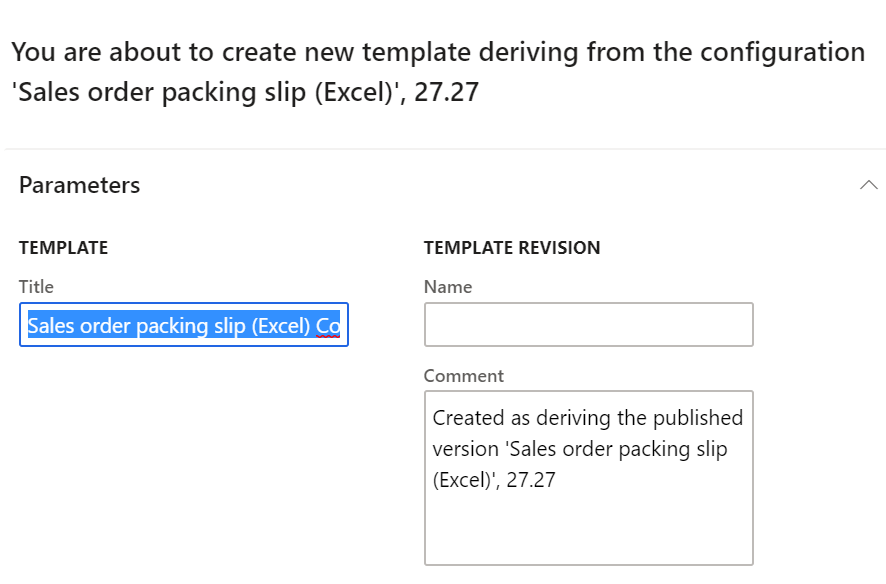
Select line with Sales order packing slip (Excel) and click Create document:
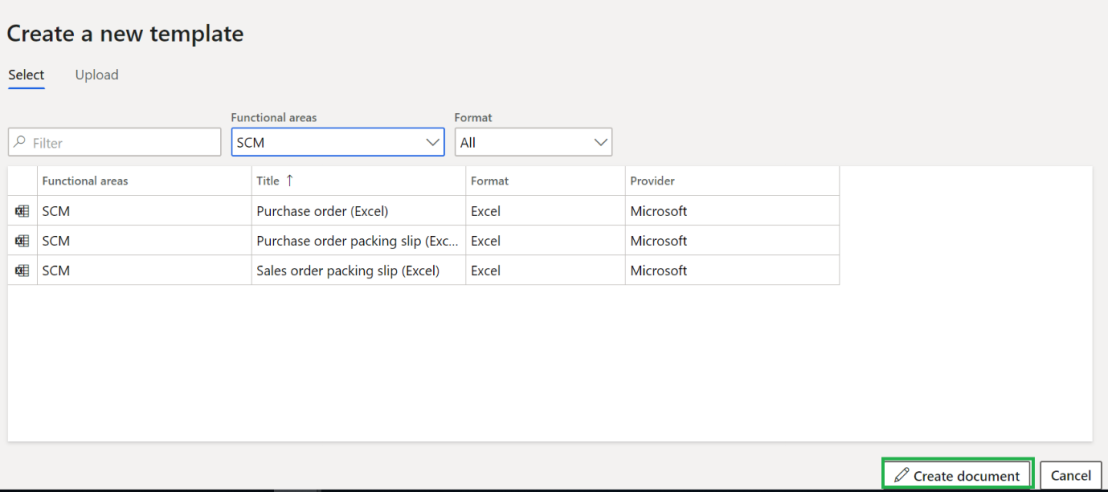
Enter new format name:
The report design was loaded; we have to do few changes to the format which are: add a new cell for product image and add a picture component to this cell. Make sure that the picture is anchored to the top left corner and fits to the cell borders.
Open the template in Desktop app (you can edit it in the online version as well):
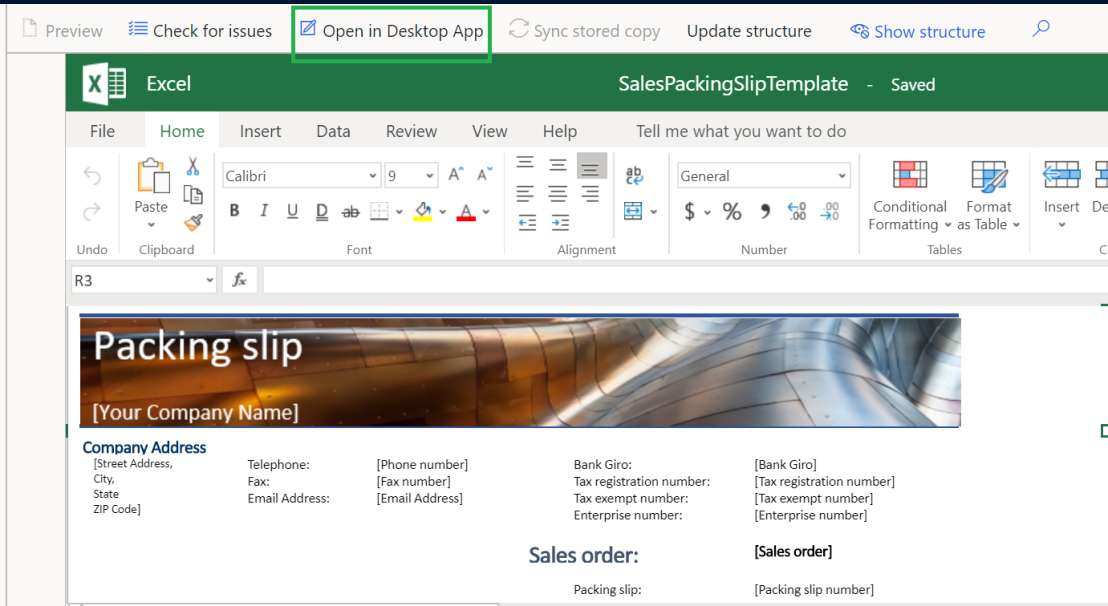
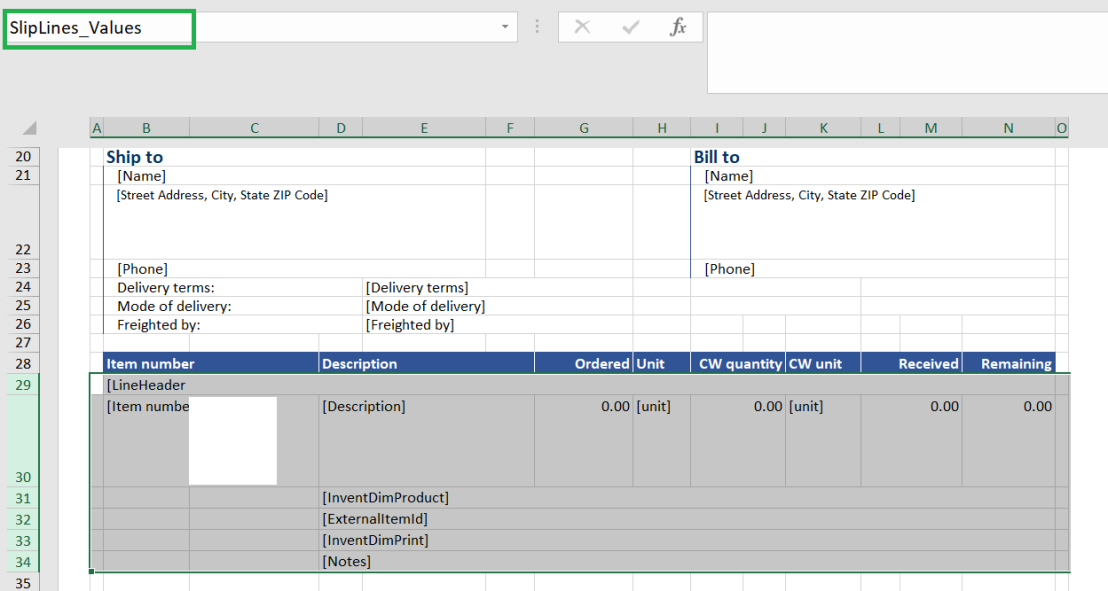
Then, add new cell, next to the Item number field, made it wide enough for the image. This cell should be a part of the line range from the report template:
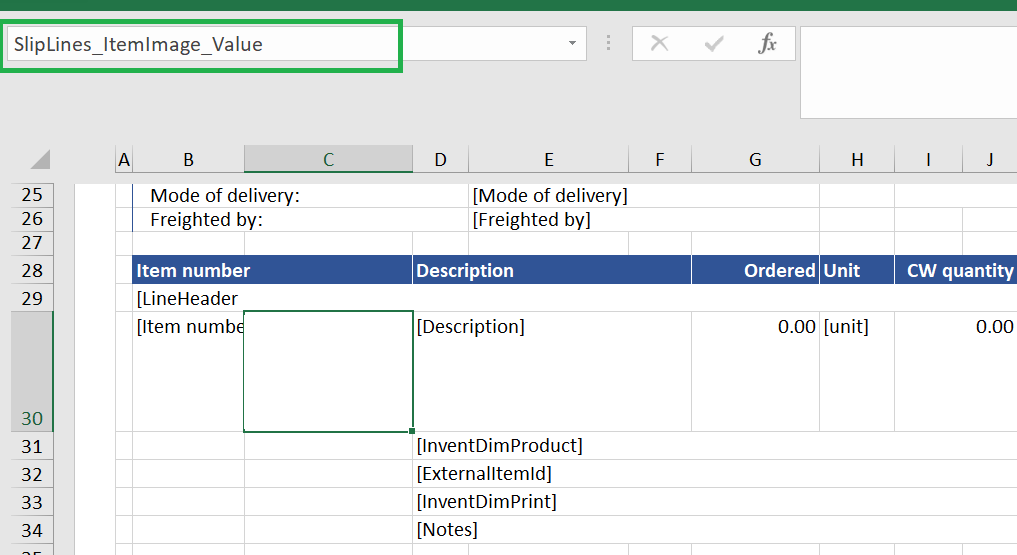
Add a picture placeholder to this cell:
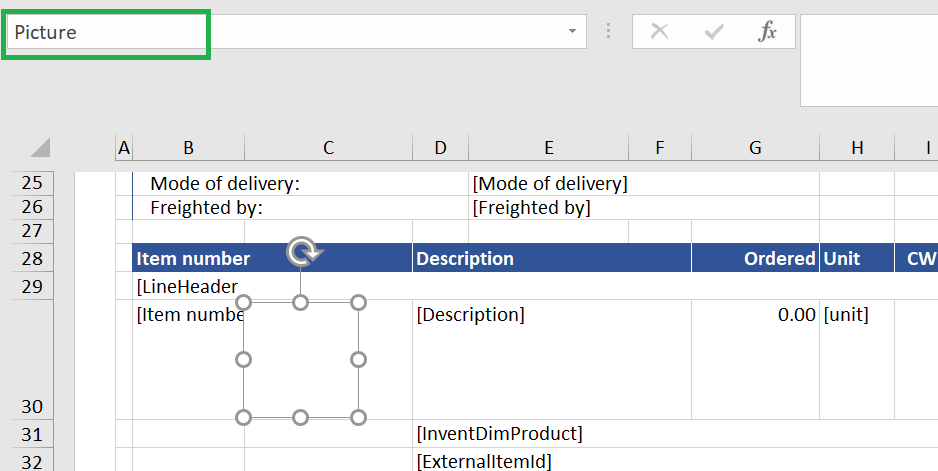
Set picture properties in the excel template (Right click > Format picture) to be as below:

In the format, check that you have right model mapping specified to refer to the mapping model we created initially:
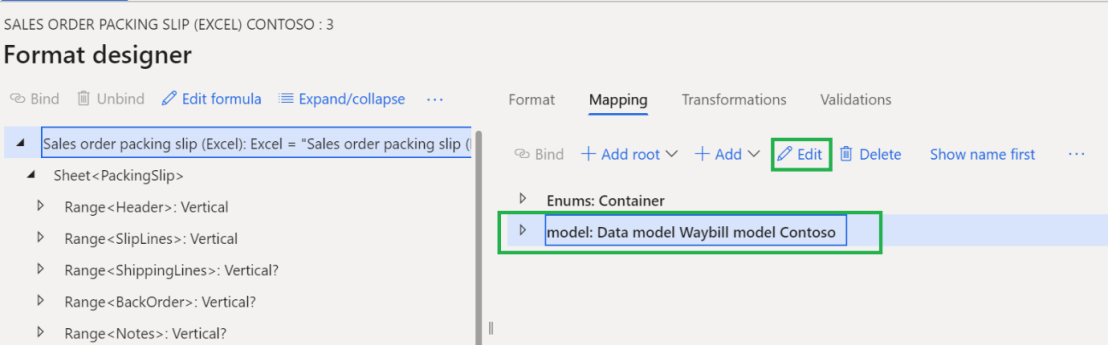
Bind Picture placeholder with the ItemImage field:
Mark the format as complete to proceed with further setup.
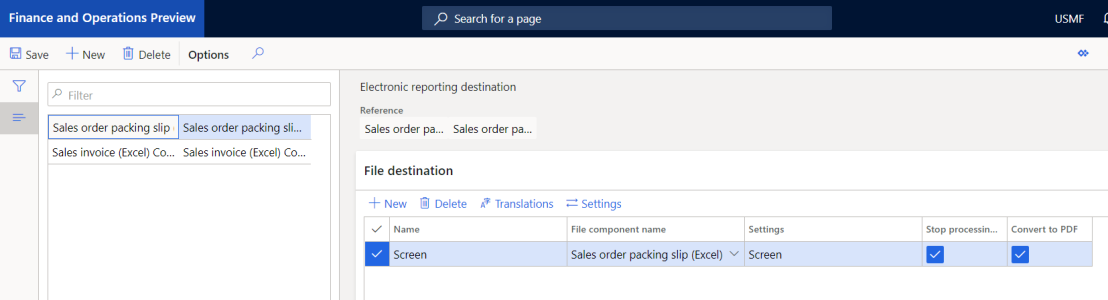
Setup electronic report destination
Create a report destination for our format (Organization administration > Workspaces > Electronic reporting > Electronic reporting destinations):
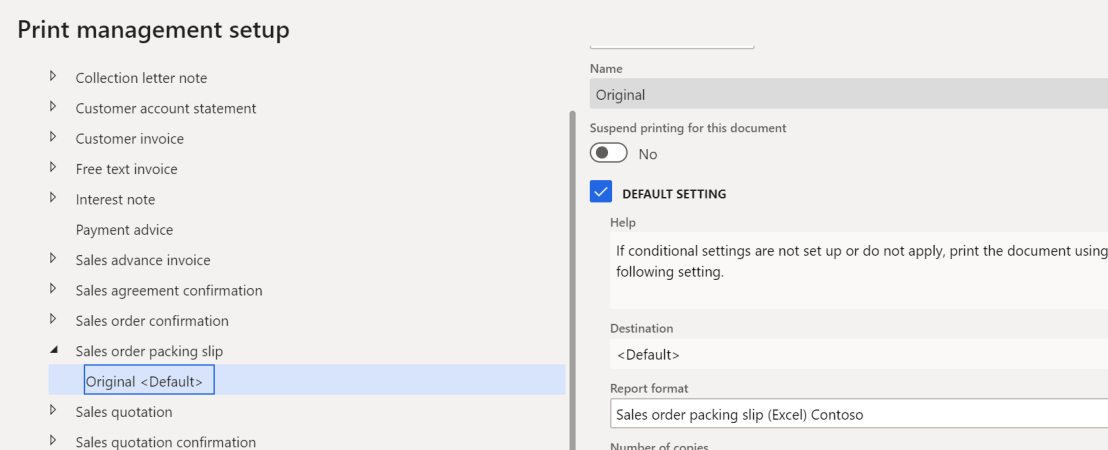
Setup Print management
Configure print management to use our report format (Accounts receivable > Setup > Forms > Form setup > Print management):
Done. We have finished with the main setup and it is time to test it.
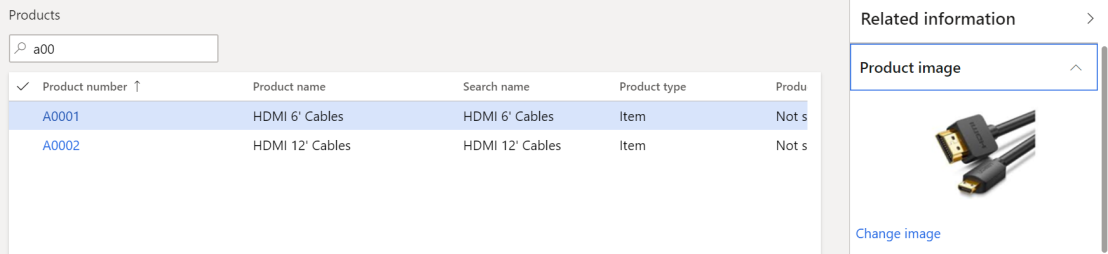
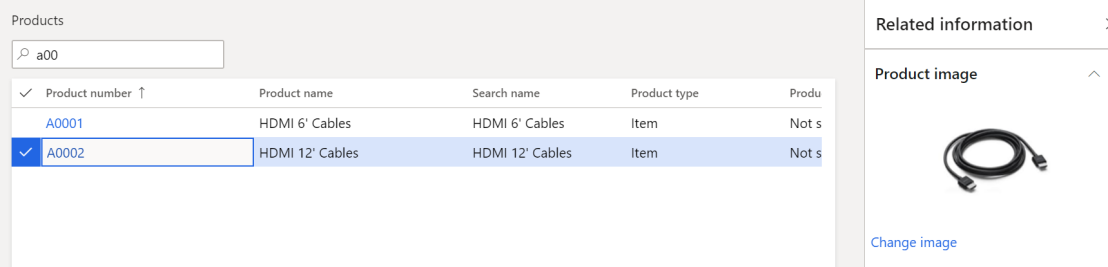
I have loaded Images for the below products (Product information management > Products > Products):
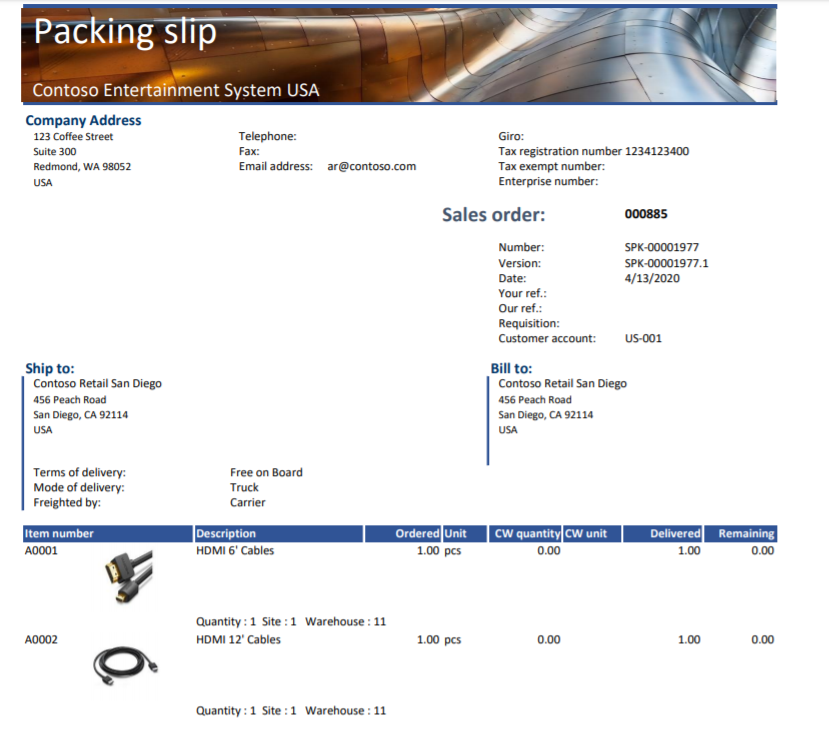
Then, I have created sales order and posted packing slip for it. We can run the report and check the results:
Sales packing slip report looks as follows:
One more requirement we can cover with out of the box solution. How cool is that!

Hi Nataliia,
Thank you for that again great post.
I tried to reproduce everything, but I had my difficulties and I got stuck with three errors in my report configuration or report model mapping. It concerns a Case formular with the Enums WMSFreighted By Carrier, Recipient and Shipper. I have no clue what happens here, but I made a detailed documentation in a WORD file, which I would like to send to you by e-mail. But I do not have your e-mail address 😦
LikeLike
Hi Juergen,
On the step where you mapped report format to the new model you have to follow same steps for Enum and set model to Waybill model Contoso. Try it and let me know how it goes.
LikeLike